Today I'm going to edit my final images. I will be doing it by using post-production techniques and using Adobe Lightroom tools and presets. First I would like to focus on further module - Develop.
The Develop Module is Lightroom's second-most-used core module. Many photographers will rarely, if ever, move on to additional modules after this. Following Naryskin (2018) :"if you're using Lightroom, it's likely that you got into it due of the Develop Module. It takes time to learn how to utilize and appreciate the Library Module. This is without a doubt the most important Module in Lightroom, and it is where you will spend the majority of your time. It features a suite of tools that are specifically designed for picture editing and are quite handy, powerful, and ergonomically put out."
Here I would kike to show how I practice with Develop module. On the left side panel we can find Presets tab. We can create, organize, import and export Presets on this tab. The left-hand panel also has basic Library Module tools like ability to switch between collections. I can automatically change the look of my image by it's color: Natural, Bright, High contrast. Then we can find Creative presets such as Cool light or Warm shadows. Here I want to share some effects:
Natural preset
Matte preset
I like the outcome of this preset. Kind of vintage and old-fashioned picture.

If I would like to go much deeper I can consider elements such as Color Temperature, Exposure, Contrast, Shadows, Texture, Saturation I can find tools for it on the right-hand sidebar. Also there I can find option black & white. With those tools I can let my imagination run wild. I change the setting by clicking on zip and move it from the center to the left or to the right in chosen setting.
Playing with Effects

Black & White 
Color Grading
Original photo

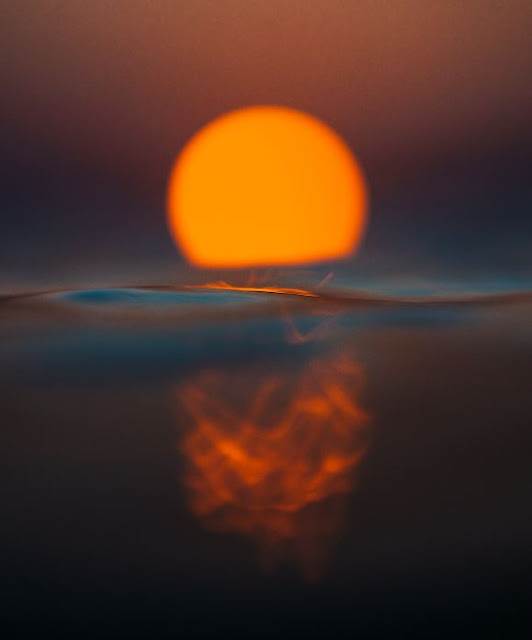
Split tone preset
Now I can export my image to the Desktop clicking right mouse button In terms of 'painting with light' I will work with contrast and saturation to squeeze the color out as much as possible.
Now I know how to use and what to do to change the look of my images. I discovered many options to achieve good quality of images. I decided to set up Split Tone preset on one of my pictures. I'm inspired by photos of Eugene Atget and his sepia Paris collection. I think it looks interesting. I like old-style, vintage photos. Also I decided to set up one picture black and white. Then I worked with Conrast and Saturation. In the next blog post I will show the final outcomes.
Sources:
https://photographylife.com/lightroom-modules-explained
https://lightroom.adobe.com/


No comments:
Post a Comment